Visual Studio 2008 and Visual Studio Team Foundation Service
Microsoft has recently, well, not that recently the new Team Foundation Service for Visual Studio. Visual Studio 2012, including the express editions can access this out of the box. Visual Studio 2010 and 2008 will need a small update to work. From my understanding of the express editions of Visual Studio 2010 and 2008 they will not work with source control so you are looking at professional or better for those versions.
There is something to note with using Visual Studio 2008. You will need to install 2 things.
- Team Explorer for Visual Studio 2008
- Visual Studio 2008 SP1 Compatibility GDR for Visual Studio 2012 Team Foundation Server and Team Foundation Service Preview
If you do not have Team Explorer then this gets a little trickier off the bat, but terribly.
- Download Team Explorer
- Burn the ISO to a CD/DVD
- Extract the files from the ISO
- Mount the ISO as a virtual drive (ImDisk and MagicDisc – MagicDisc will not work properly in Windows 8)
- Install Team Explorer

- Double Click Setup.exe.
- Click Yes for the UAC prompt if running Windows Vista or higher.
- Step through the installation wizard of Team Explorer.
- Install Visual Studio Service Pack 1 again (even if you have installed it previously as this will install SP1 for team explorer). This can take some time to perform this install.
- Download Visual Studio 2008 Compatibility GDR for Team Foundation Server/Service (Link is above)
- Install this update, double click the file downloaded, usually called VS90SP1-KB2673642-x86.exe
- Step through the installation wizard and complete this.
Once you have installed this you need to now connect to you Team Foundation Service account (or create a new one and then connect to it.)
Open Visual Studio 2008 and if Team Explorer isn’t visible, Click View | Team Explorer (Ctrl-\, Ctrl-M (yes both keys in that order))

Click the Add Existing Team Project button on the Team Explorer toolbar. This will display a Connect to Team Foundation Server dialog.
This should be empty (if you have just installed Team Explorer). Click the Servers… button.
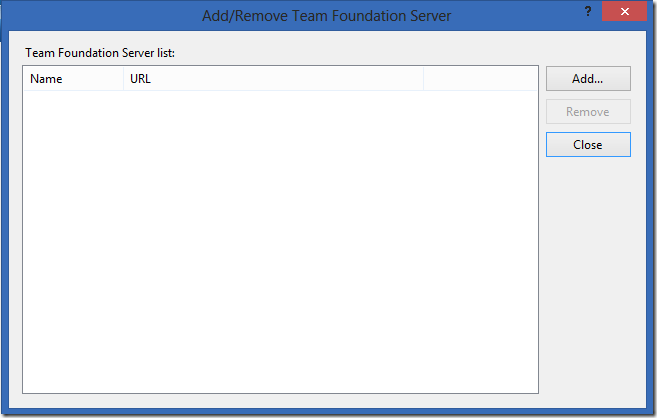
Click Add…
This is the interesting element. Once you log into your Team Foundation Service Page, on the Account page you will see the name of the accounts (well their URL) under the element, have removed mine from this example.
Copy that URL that is below that or if there are multiple there then copy the account you wish. It will be https://accountname.visualstudio.com/
Then this is pasted into the Team Foundation Server name: box on the Add Team Foundation Server dialog. But do no click OK. You need to also include the project that you are attaching to.
Include the name DefaultCollection. By putting in the entire URL from the site you will disable the port and protocol selection. Click OK.
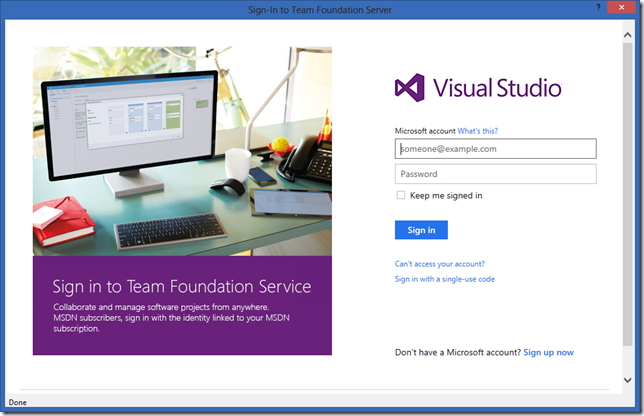
It will then prompt you for your account details. Enter them in and click Sign In.
Click Close and you are now logged into the Team Foundation Service and you can now start adding your code projects. You can this use the usual source control elements like checking files in, adding projects and so on.
Posted on August 17, 2013, in Article and tagged Team Foundation Server, Team Foundation Service, Visual Studio 2008. Bookmark the permalink. 1 Comment.


Thanks a lot for the article